
Guest post from Marrie B
Aloha! I'm out of town right now (for work, so not technically a vacation) and I asked my talented friend, Marrie B, to do a guest post. She's one of my blogging buddies, although since we met in person last month I can now officially call her my "real life" buddy too :) If you haven't checked out her blog yet, then I highly recommend you change that. Her site is one of my favorites! Thanks for guest posting, Marrie!
_________________________
Hi there! My name is Marrie and I blog at purlsandpleats.wordpress.com. I was really honored when Erin asked me to do a guest post for her while she’s in New Orleans. I’ve been following her since the Sew Colette days, and can honestly say that sewalong was a game changer for me – and was when I really fell in love with garment sewing. So I’ll always be thankful to Erin for co-hosting Sew Colette and opening up my sewing world.
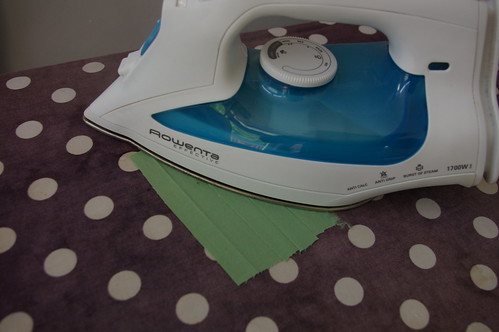
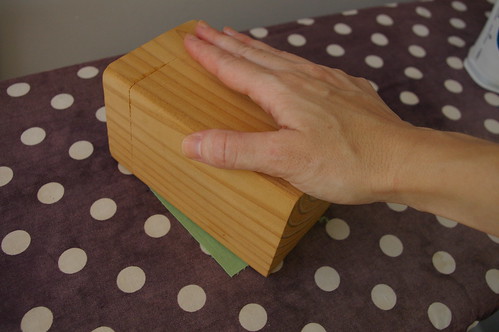
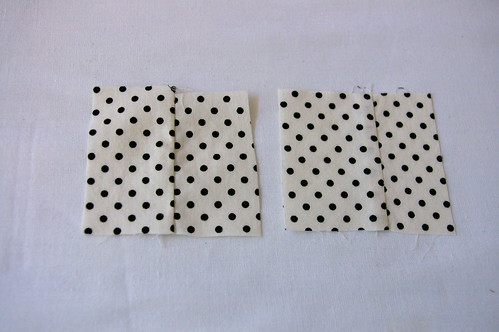
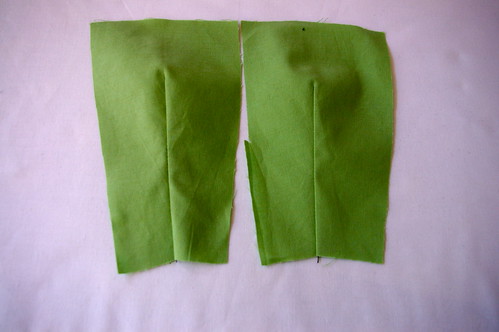
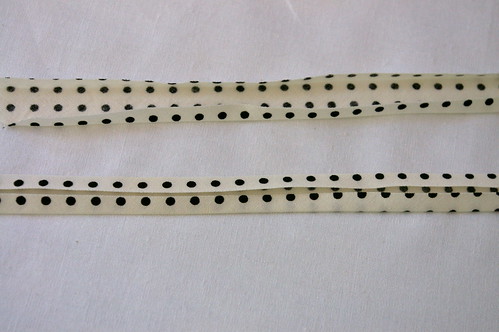
Anyway, onto the topic of this post . . . today I’ve got a pressing tip for you. To get really crisp seams and to even control unruly bias tape, try using a clapper. If you’re not familiar with it, a clapper is a wood block that you place over your fabric right after pressing, and it helps the heat and steam from the iron to penetrate the fabric.
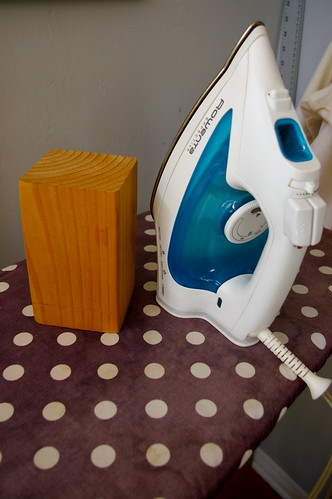
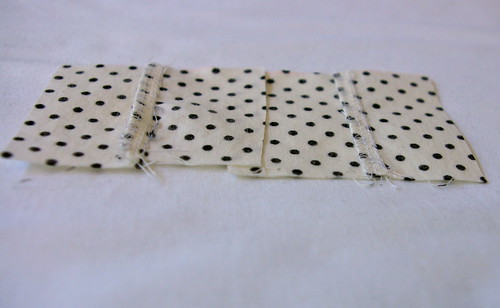
If you’d like a clapper of your own, they are available for purchase for around $20-$30. Or, you can just pick up a piece of wood from the hardware store. My clapper is a left over piece of a 4x4 that I found in the garage. A piece of 2x4 should work just as well. Although I do suggest gently sanding any wood you might use so that it won’t snag delicate fabric. Happy sewing and pressing, everyone! ☺
Subscribe to:
Post Comments
(
Atom
)

Wow! that's impressive. I didn't realize a clapper would make SO much difference! Thanks, Marrie!
ReplyDeleteWhoa! I gotta get a clapper!
ReplyDeleteGreat idea! Thanks for that.
ReplyDeleteThanks for letting me guest post, Erin! Hope you are enjoying New Orleans!
ReplyDeleteThank you SO much for this write up, Marrie! You have totally sold me on a clapper. I'm going to hunt through the garage tonight for some wood :) I am very curious to see if I can make bias tape as nice as yours! The clapper may be the answer.
ReplyDeleteI've seen fancy clappers for sale in a few places but I never thought to just make my own with some leftover wood! Now that I know how much a different they actually make, I think I need to go to the hardware store and cut off a chunk of 4x4 lol!
ReplyDeleteI have a clapper that I never used till last night - this post inspired me to test it out and the difference was really impressive. I always thought it was just for wool/tailoring... but it worked with cotton too! Thanks for the tip.
ReplyDeleteHi greeat reading your blog
ReplyDeleteVery nice post
ReplyDelete